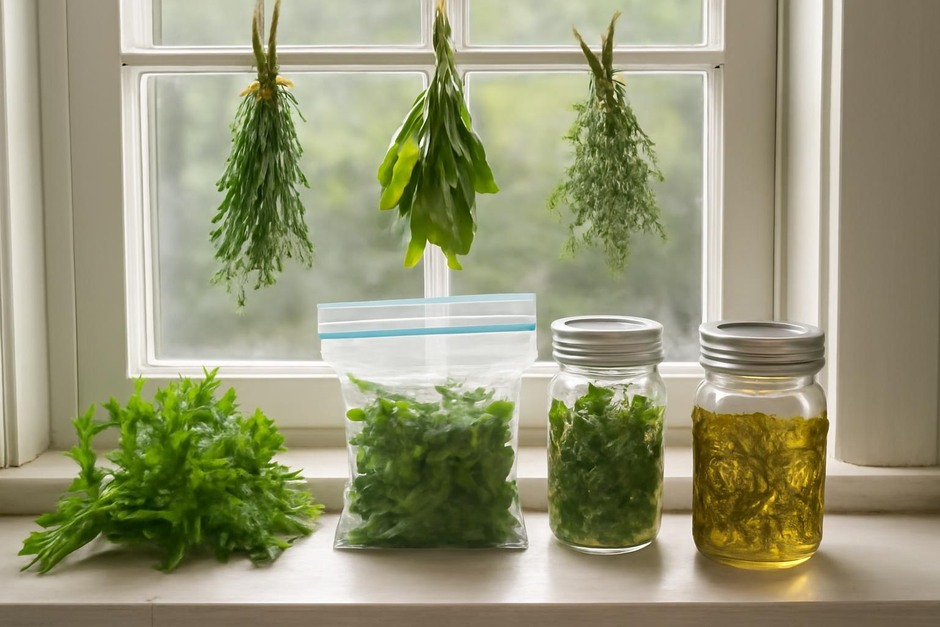
Three Small Experiments to Preserve Fresh Herbs: Drying, Freezing, and Infusing
Preserving a small harvest of herbs can extend their usefulness beyond a single meal and is a great hands-on way to learn about materials and methods. These three compact experiments build a single skill: choosing and using the right preservation method for a given herb and kitchen situation. Each experiment takes 10–60 minutes of active work and yields a modest supply to test in cooking.
Experiment 1 — Compare two quick drying methods (air-dry vs. low-heat oven)
Goal: Learn how drying affects aroma, texture, and storage volume. Try the methods on the same herb (e.g., rosemary or thyme) so differences are due to technique, not plant.
Materials
- Two small bunches (20–30 g each) of the same fresh herb, rinsed and gently dried
- Twine or rubber bands
- Baking sheet and oven, or a cool, airy corner for hanging
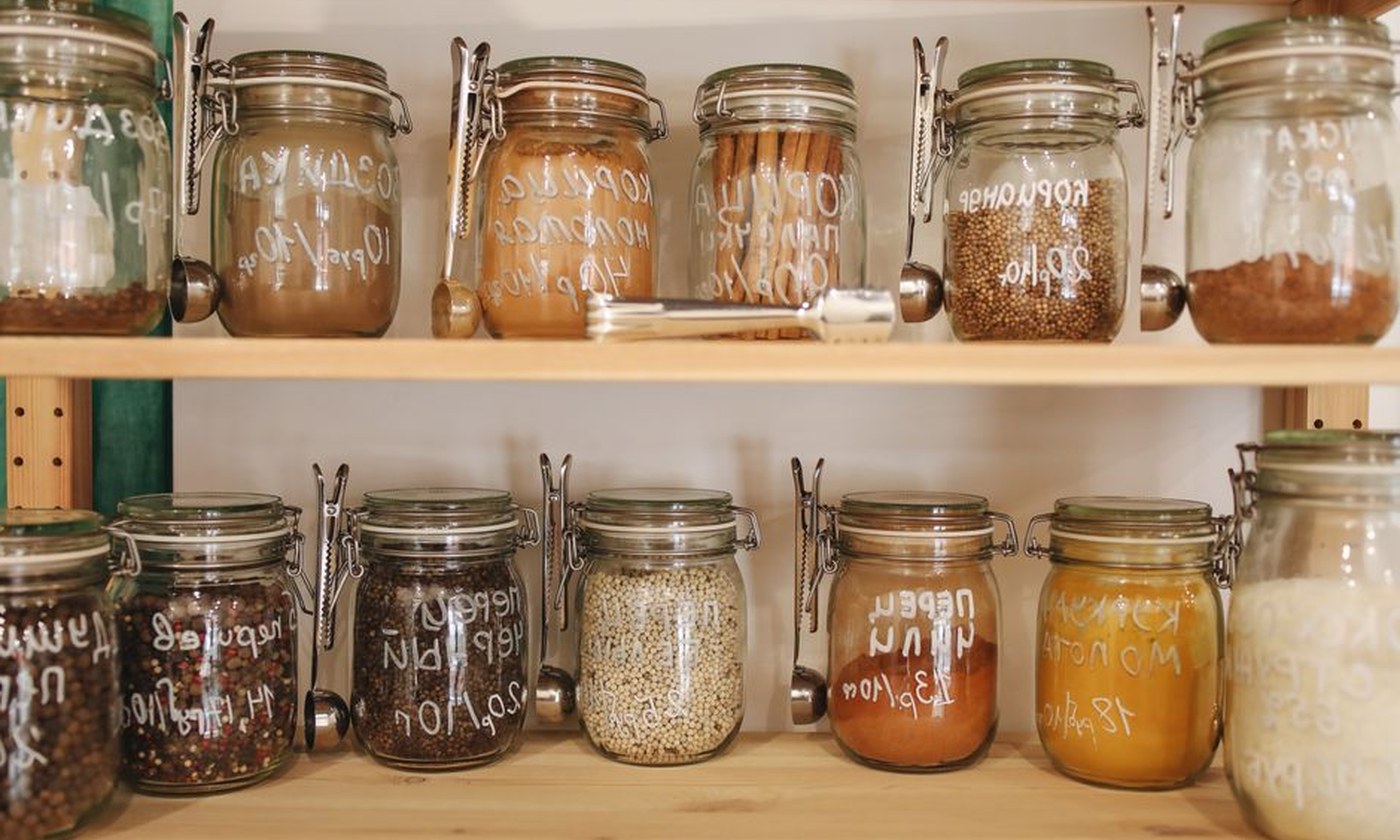
- Clean jars with lids and labels
Steps
- Air-dry: Tie one bunch at the stems and hang upside down in a cool, dry, well-ventilated spot out of direct sunlight. Check daily; expect 5–14 days depending on humidity.
- Oven-dry (low heat): Spread the other bunch in a single layer on a baking sheet. Set oven to the lowest setting (40–60°C / 100–140°F if labeled) and prop the door slightly open for airflow. Check every 10–15 minutes and remove when leaves crumble easily, usually 30–90 minutes.
- When dry, strip leaves from stems and weigh or note volume. Store each sample in its own labeled jar.
What to observe
- Aroma intensity and character when crushed.
- Color—does the oven sample brown more than the air-dry?
- Texture—are leaves brittle or powdery?
- Time and energy use: days vs hours and whether electricity was needed.
Trade-offs: Air-drying uses no energy and often retains color well, but takes longer and needs space. Oven-drying is fast and convenient for small batches but can darken or cook oils out of delicate herbs.
Experiment 2 — Freeze for scent and freshness (loose leaves vs. oil cubes)
Goal: Compare two freezing approaches: plain frozen leaves for quick toss-in use, and herb-in-oil cubes for recipes that welcome an oil base.
Materials
- Fresh herb leaves (basil or parsley work well)
- Ice cube tray or small airtight container
- Neutral-tasting oil (for the oil cubes), airtight freezer bags
Steps
- Loose leaves: Chop or leave whole, spread on a tray to freeze individually for an hour, then transfer to a labeled freezer bag. This prevents clumping.
- Oil cubes: Pack chopped herb into ice cube compartments and cover with oil. Freeze until solid, then pop into a labeled bag.
What to observe
- Texture after thawing for each method (do leaves become limp or retain structure?).
- Flavor when added directly to a hot pan or soup.
- Practicality—space used, ease of portioning, and how long they keep usable in your freezer.
Trade-offs: Loose frozen leaves are light on resources and versatile, but may lose crispness. Oil cubes lock in fat-soluble flavors and are convenient for sautés, yet require oil and freezer space.
Experiment 3 — Make a small herb-infused oil and a finishing herb salt
Goal: Learn flavor extraction and how concentrated preparations change the herb’s culinary role. This experiment builds on the dried and fresh samples you produced.
Materials
- Fresh or lightly wilted herbs
- Neutral oil (grapeseed, sunflower) or extra-virgin olive oil for stronger flavor
- Coarse sea salt and a small jar
- Saucepan or small jar for warm infusion
Steps
- Warm infusion (quick): Gently heat oil with a handful of herb for 10–20 minutes on very low heat, then strain into a clean jar and cool. Label with date and intended use (keep refrigerated and use within a short timeframe).
- Herb salt: Finely chop dried herb from Experiment 1 and mix with coarse salt at about 1:6 herb-to-salt by volume. Let the mixture rest in a sealed jar for a week to meld flavors.
What to observe
- Intensity and quality of aroma compared with fresh and dried samples.
- How the oil and salt perform as finishing touches on simple dishes (taste, mouthfeel).
Trade-offs: Infused oils concentrate flavor and are ready-to-use but should be stored carefully; herb salts are shelf-stable, easy to dose, and concentrate savory notes rather than fresh green aromatics.
Next steps and recording results
Keep a simple notebook: note the herb, date, method, time, and a short sensory rating (aroma, color, use-case). After a few cycles you’ll have a personal map of which method you prefer for each herb and recipe. These small, focused experiments teach both technique and judgment—how material choices and method details change culinary outcomes.
Enjoy testing, and adapt quantities and timing to your local kitchen conditions.