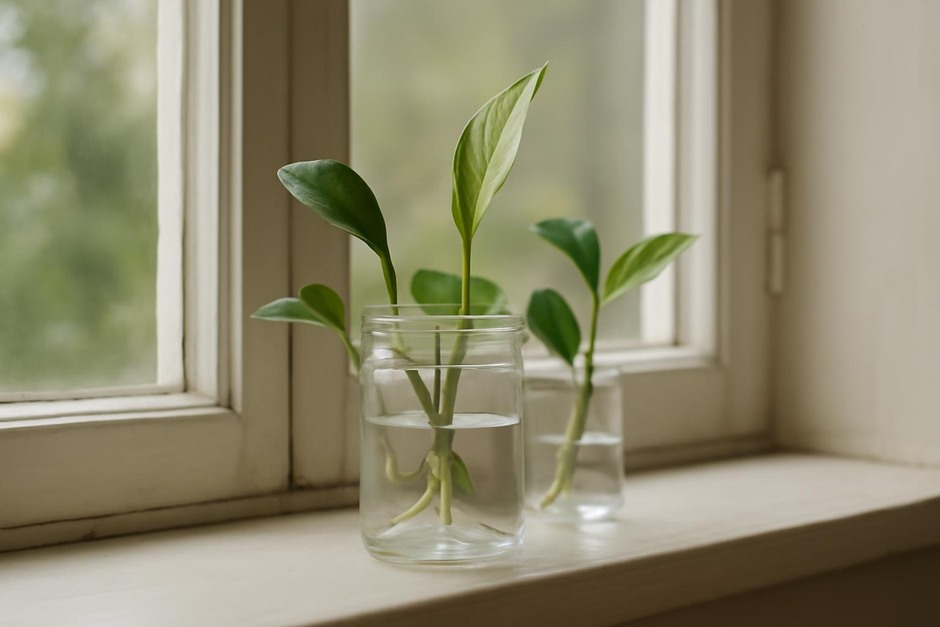
A Stepwise Propagation Lab: Four Small Experiments to Multiply Houseplants
Why a stepwise propagation lab?
Propagation is a practical skill built from observation, small adjustments, and repetition. Rather than a single recipe, try four short experiments that focus on one variable at a time. Each experiment takes a few weeks and teaches a useful principle: where roots start, how moisture and medium affect success, and how to care for fragile cuttings.
Experiment 1 — Water propagation for quick observation
Purpose: See root development clearly and learn how nodes, light, and clean water matter.
Materials
- Two clear glass jars
- Healthy vining plant (pothos, philodendron, or coleus)
- Sharp scissors
Steps
- Take two 4–6 inch stem cuttings, each with 3–4 leaves and at least one visible node.
- Remove the lower leaves so a node is exposed.
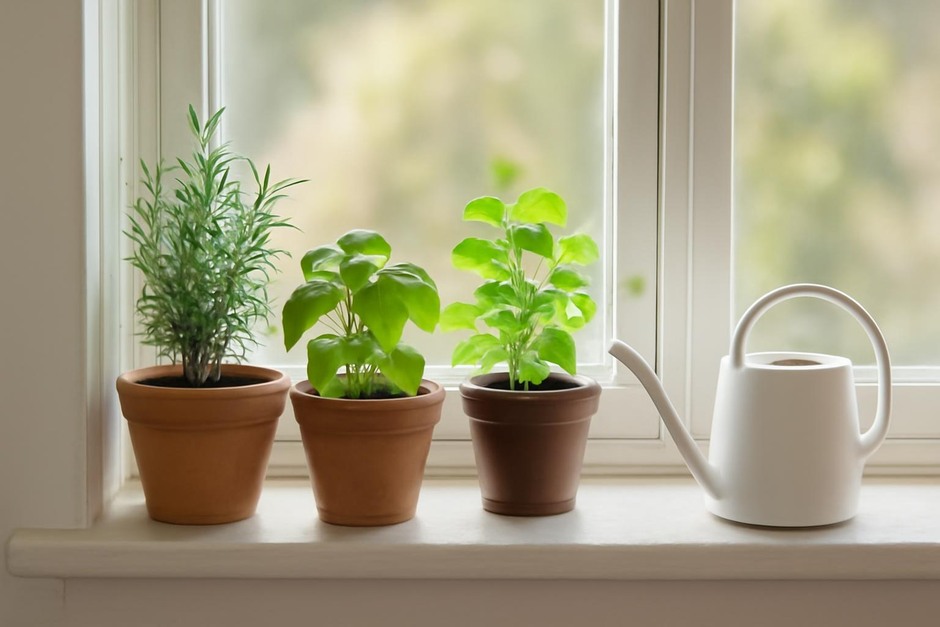
- Place one cutting in each jar with the node submerged in room-temperature water. Keep jars on a bright windowsill out of direct midday sun.
- Change the water every 5–7 days and note any root emergence.
What to observe
- Time to first white root hairs.
- Root length and branching after 2–4 weeks.
- Any leaf yellowing or stem rot.
Principle: Water makes root formation visible and highlights the importance of a healthy node and clean environment. If roots form but are white and thin, it indicates early healthy growth; brown mushy stems suggest too little airflow or contaminated water.
Experiment 2 — Direct-to-soil cuttings for practical planting
Purpose: Compare rooting success in a porous potting mix versus water and learn about medium contact and drainage.
Materials
- Two similar cuttings to the first experiment
- Small pots and a light, well-draining potting mix
- Optional: misting spray
Steps
- Make two cuttings with nodes and remove lower leaves.
- Dip one cutting’s base in clean water and plant directly into moist potting mix; for the other, plant without pre-wetting the base.
- Keep soil lightly moist and place pots in the same light zone used for water propagation.
What to observe
- Soil moisture retention and the cutting’s firmness in the soil.
- Time until new leaf growth appears (a sign of root establishment).
- Signs of rot or wilting.
Principle: Soil provides stability, microbial partners, and oxygen at the root zone. Compare dates of new growth to see how medium contact influences success.
Experiment 3 — Rooting hormone vs none
Purpose: Test whether a commercial or homemade rooting hormone speeds rooting in a consistent medium.
Materials
- Four similar cuttings
- Potting mix and four small pots
- Rooting hormone powder or a control (no hormone)
Steps
- Label pots A (hormone) and B (control), with two replicates each.
- Lightly dust the base of cuttings in pots A with rooting hormone before planting; plant B without.
- Track days to visible new growth and count successful roots per pot after 4–6 weeks.
What to observe
- Difference in rooting speed and percentage of success between A and B.
- Any growth-quality differences (root thickness, vigor).
Principle: Hormones can stimulate root initials but are not always necessary. This test helps decide whether the extra step fits your plants and routine.
Experiment 4 — Humidity microclimates: bagging and airflow
Purpose: Learn how higher humidity and airflow affect leaf turgor and rot risk for tender cuttings.
Materials
- Four potted cuttings (from Experiment 2)
- Two clear plastic bags or small cloches
Steps
- Place two pots under clear bags to create a humid microclimate; leave the other two open but in the same light.
- Open bagged pots for a short period every 3–4 days to allow air exchange.
- Record leaf firmness, condensation levels, and any fungal spotting for 3–4 weeks.
What to observe
- Whether humidity speeds root establishment without causing rot.
- How often you need to ventilate to prevent mold.
Principle: Young cuttings benefit from humidity but need intermittent airflow. Balancing moisture and ventilation reduces disease while supporting transpiration and root growth.
Bringing it together
After these four experiments, compare notes: which method gave the fastest, cleanest roots? Which plants tolerated direct soil better? Which required hormone or humidity? Use those conclusions to create a simple routine for similar species on your windowsill. Small, repeatable experiments teach not just what works but why it works, and they make propagation an adaptable, confident part of your home garden practice.